

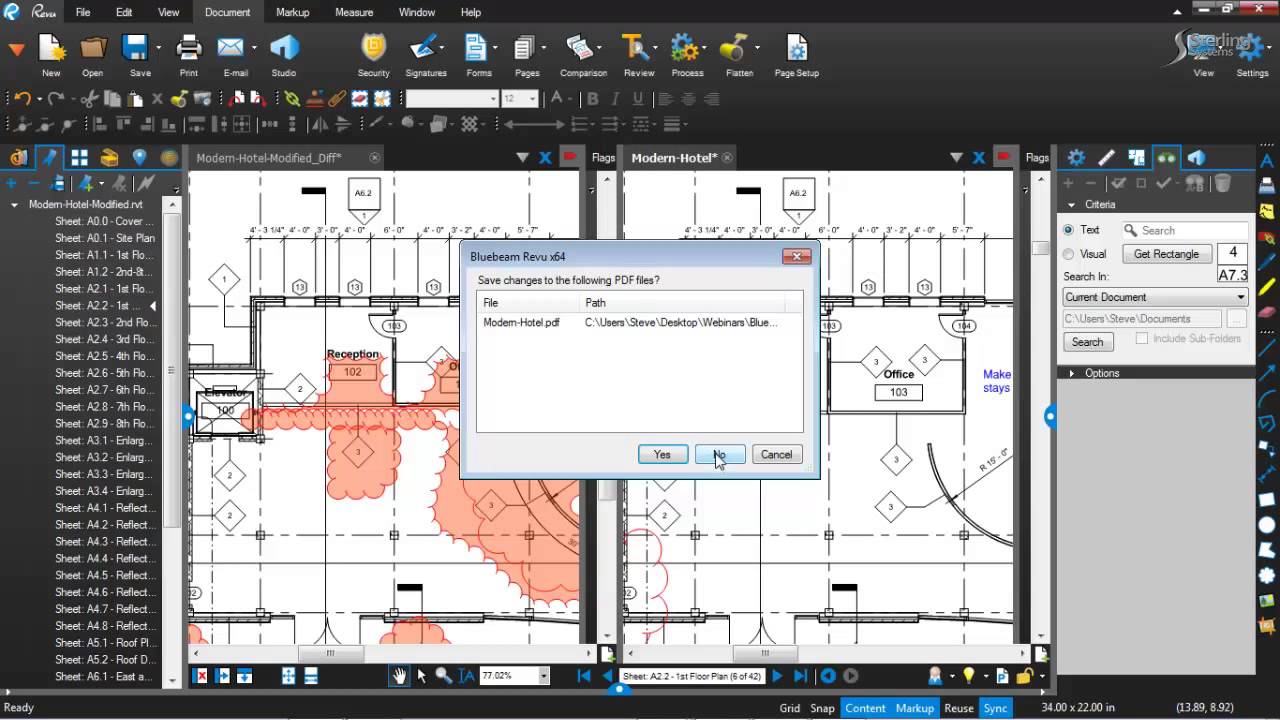


6 Bluebeam Features Excellent for Steel Professionals
Bluebeam has many capabilities that are ideal for the steel industry to get bids done faster and more efficiently.

The Top 3 Most Effective Construction Project Management Software
Let’s explore the top 3 most effective project management software currently shaping the complex landscape of the construction industry.

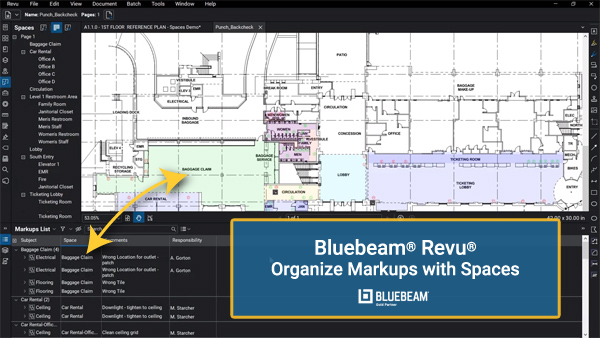
Bluebeam Revu and Archicad: Driving Design Collaboration
OpenBIM is the key to collaboration and allows teams to use multiple software tools easily, such as this example of Revu and Archicad.

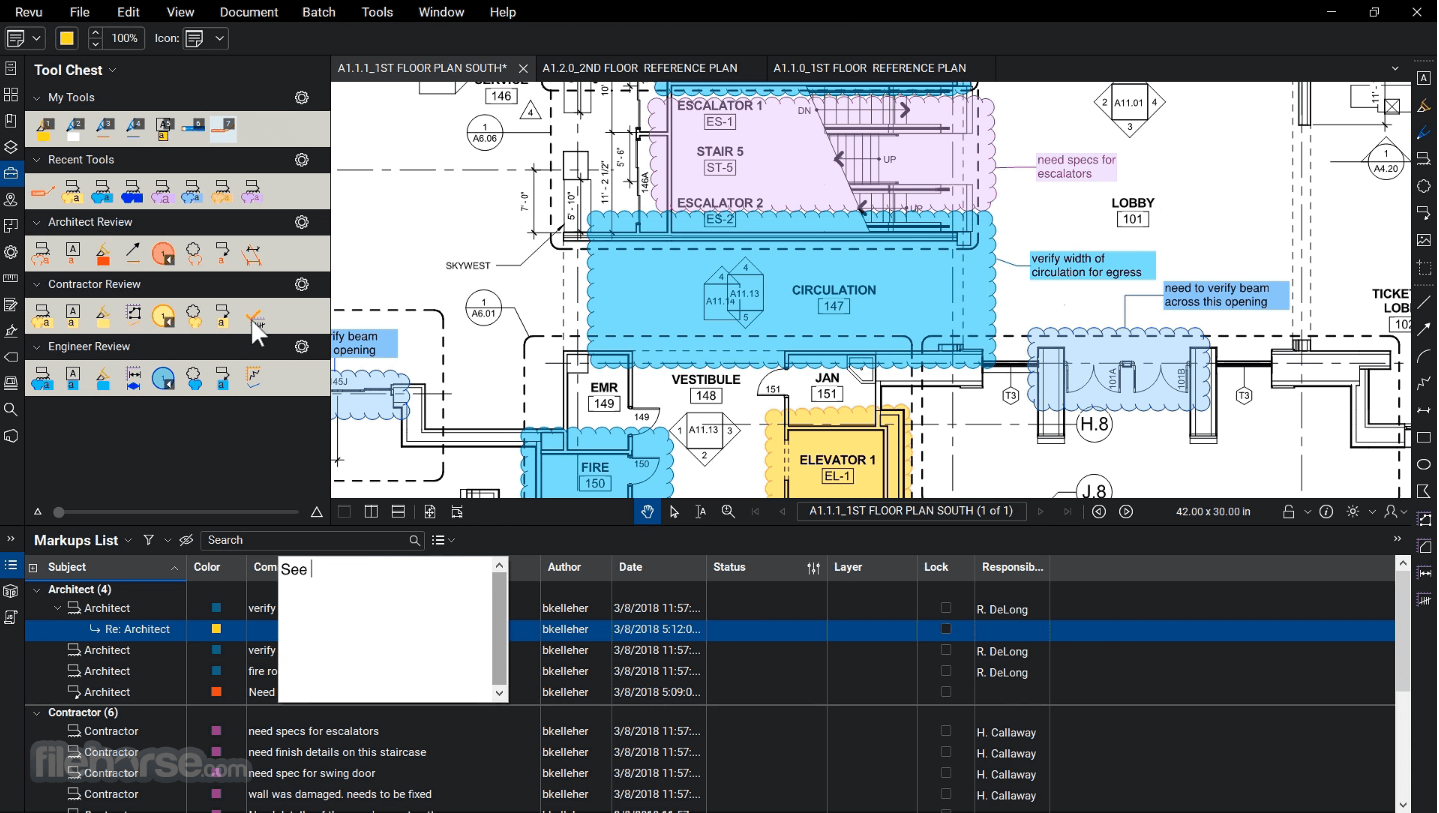
Bluebeam and Graphisoft Integration: Linking Design and Collaboration for Architects
As an architect, the essential thing to consider when buying new software is how it will integrate with your existing systems and processes.