How Tilt-Up Concrete Contractors Can Best Use Bluebeam
Building with concrete, as pervasive as it is in construction, is no easy feat. Here’s how tilt-up contractors can best use Bluebeam to make the job easier
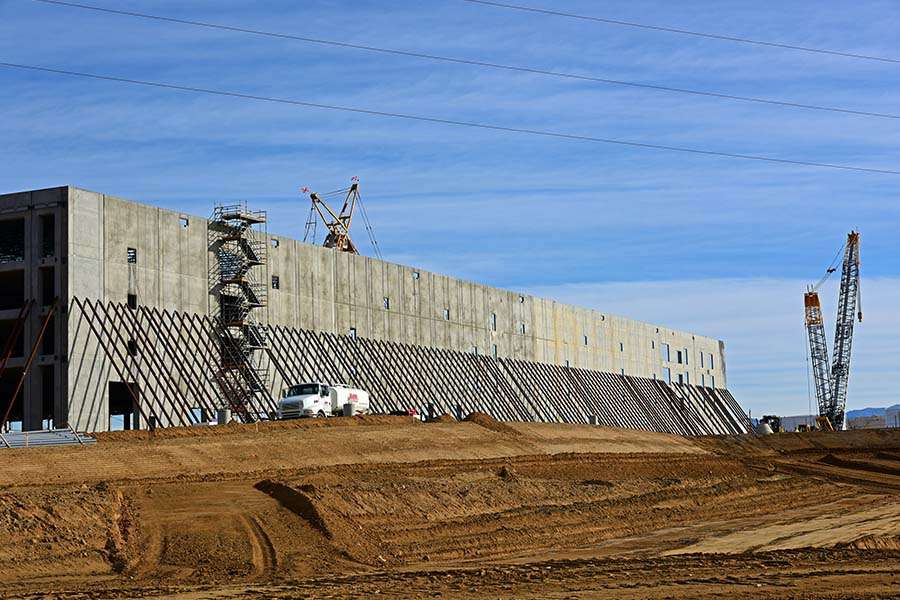
Earlier this year, I was in the Kansas City area and had a chance to sit down with an operations manager of a local concrete contractor. I love learning custom workflows, and tilt-up concrete wall panels are definitely an interesting process.Here are a few of the workflows I learned while on site, and some best practices I offered to take them to the next level.
Let’s take a look at a few workflows:
- Compare/Overlay Pages
- Concrete Quantities
- Rebar Quantities
- Equipment Staging
- Paper Dolls
Compare Documents/Overlay Pages

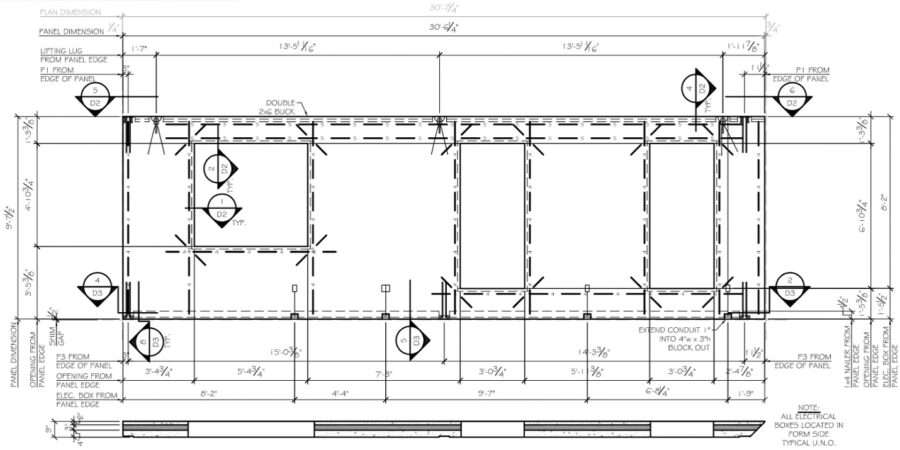
Several years ago as a designer, I had the opportunity to draw Thermomass precast shop drawings for residential construction. The level of detail was more than you could imagine. Before any concrete could be poured, all the rebar, lifting lugs, connection plates, electrical boxes and conduit needed to be precisely placed. These projects also required wood bucks around openings, mid-panel floor truss ledger boards and an inset wood top plate for roof truss connection. It was a puzzle to say the least.
In Revu, I would have loved having Compare Documents and Overlay Pages. Something as simple as moving the location of a vertical wall joint can be really hard to see, but makes a huge difference in designing, pouring and erecting accurate panels. These tools would have made it clear as a red cloud where changes were made. Compare Documents and Overlay Pages are tools even the newest Bluebeam user can implement immediately.
Concrete Quantities
Finding the volume of concrete is common practice using Revu’s measurement tools. Simply trace the area of a horizontal slab in plan view, or the vertical panel on the elevation view, then add a thickness or depth. Use the Cutout tool to eliminate the window, door and mechanical openings. In the Markups List be sure to turn on the Volume column to see the volume of each panel and a calculated total volume.

Rebar Quantities

Quantities can mean a couple different things depending on who you ask. A general contractor might be looking for quantities of materials, but if they’re not self-performing, they don’t add costs to those materials. A specialty contractor is going to look for quantities of materials and apply costs as well as labor hours/cost. Rebar is calculated a couple different ways as well.
Some estimators calculate the amount of steel based on a percentage of concrete, while others look at the exact bar layout in the concrete, count how many “sticks” they need, the cost of the shop to pre-cut and bend, and draw out shop drawings to come up with pricing. With custom formula columns in the Markups List, I’ve built tools that calculate the linear feet of bars. When you draw a slab or panel area, Revu gives you the length and width; now you just have to add formulas to incorporate the bar spacing and edge distances.
Equipment Staging
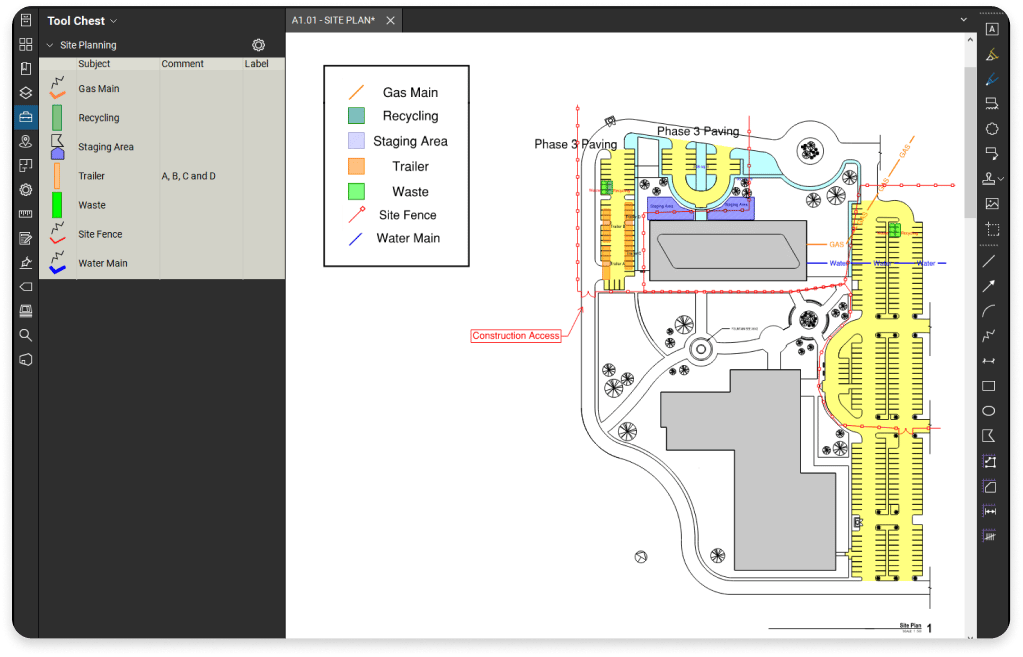
Over the years, I’ve seen and built several site logistic tools in Revu. These might include where underground or overhead utilities are located, safety equipment, a truck cleanout station or major equipment placement like various size cranes with the pick point radius shown to scale.
This takes some of the guesswork out of placing the crane and reducing or eliminating the number of times it’s moved. I saw something new and pretty cool on this jobsite. They had a tool built with the exact footprint of a concrete pump. They were able to pick the exact location and build the required foundation to support this temporary structure.

Paper Dolls

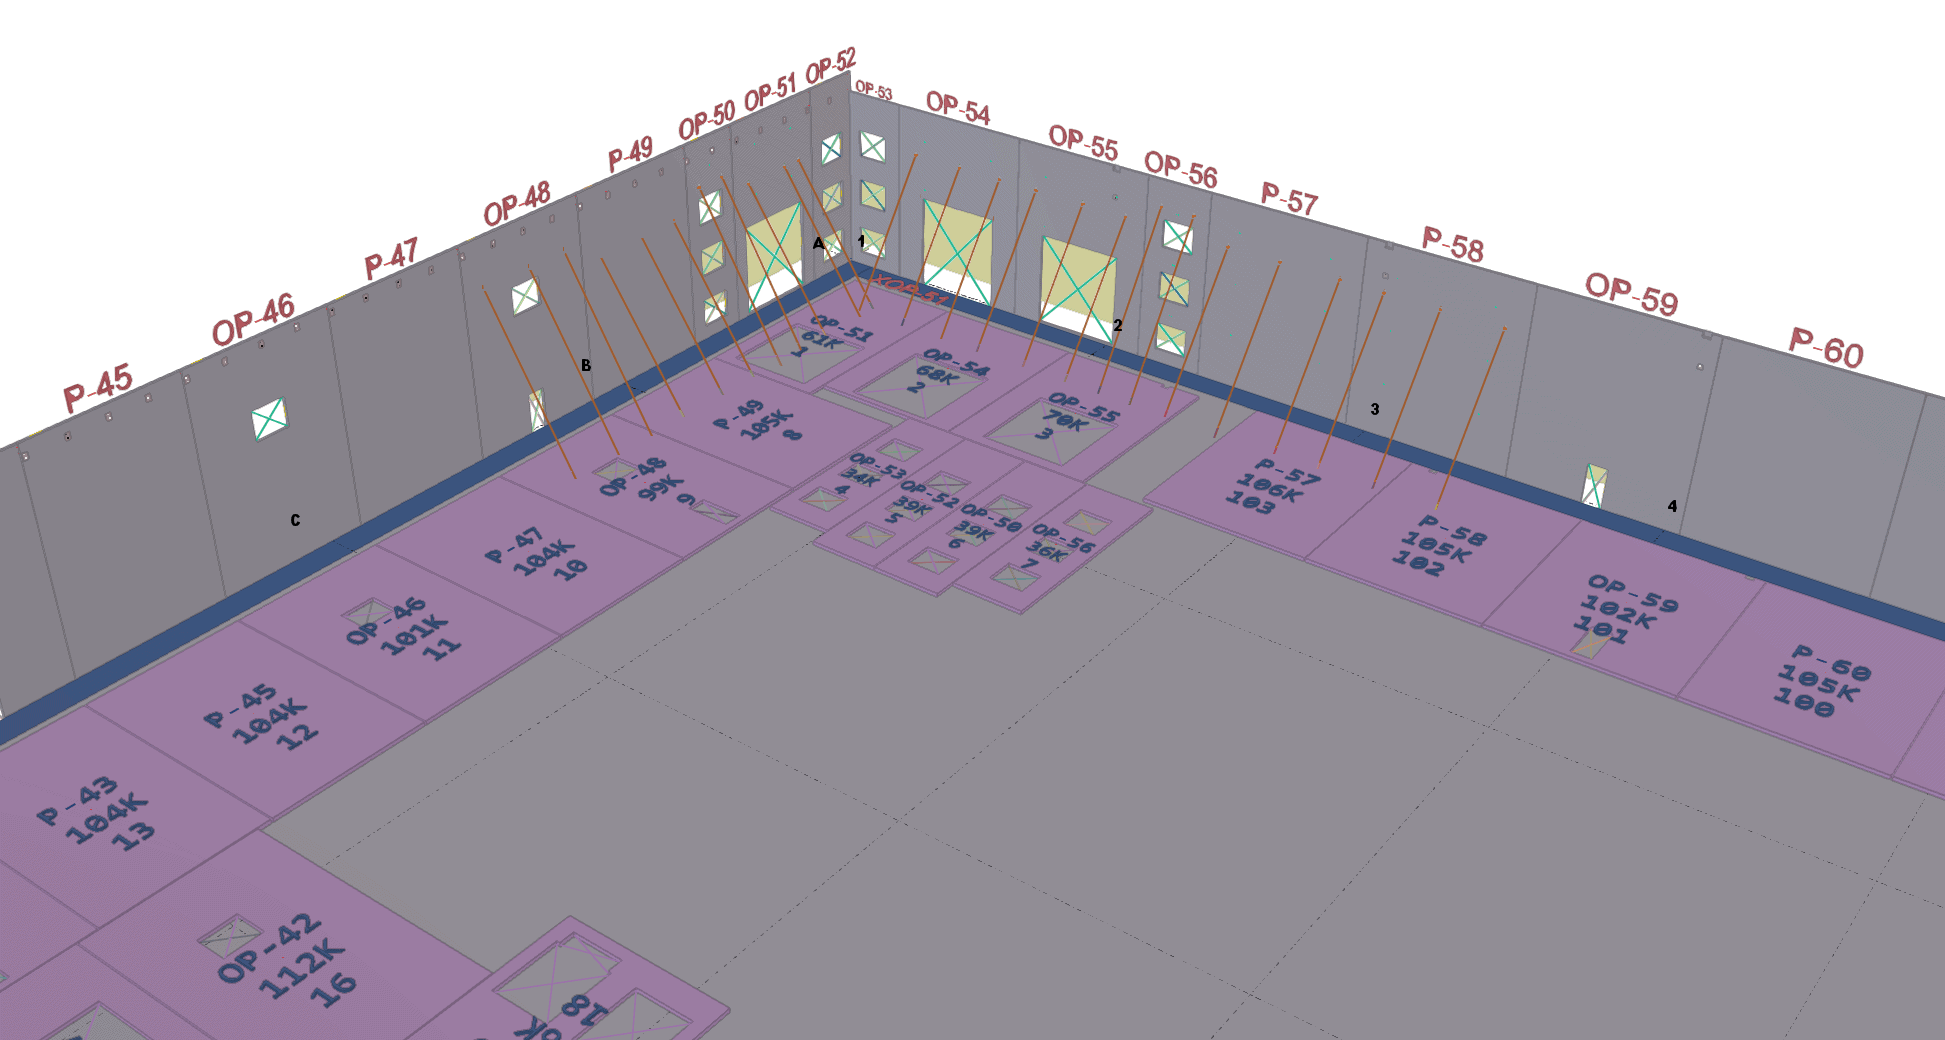
This was a new term I had never heard of before this site visit. “Paper Dolls” is a process of laying out panels on the slab to be poured. In a paper-based workflow, they would cut out each panel from the elevation drawing and lay out the pieces on the slab plan. This puzzle would determine the most efficient way to use every inch of slab to pour as many wall panels as possible.
After listening and understanding the process, I was able to develop a workflow in Revu. Tracing the panels on the elevation like mentioned above, we simply add those markups to a temporary Toolset and set the scale. Now they can place those markups on the plan sheet to lay out each panel pour. After working through the idea and creating a few best practices, this team was saving countless hours planning out each day’s pour sequence.
Working with concrete can be a “hurry up and wait” sort of job when concrete takes time to cure. But that doesn’t slow concrete contractors down; it just forces them to be creative. Calculating the volume of concrete and required crew size day to day takes some planning. Where to stage each pour efficiently, considering erection logistics and keeping in alignment of other trades scheduling, is an artform most don’t even think about.
Thankfully, these above tools in Revu can make the process as efficient as possible.
For more details on how tilt-up contractors can use these workflows, click here.
Share this post on:
Subscribe now
to receive newsletter with latest news weekly from Revu Experts Vietnam.
Related posts

Bluebeam Compare Documents vs. Overlay Pages
Bluebeam Compare Documents vs. Overlay Pages Discover how Compare Documents and Overlay Pages by Bluebeam transforms managing documents with precision and visual clarity. In the

6 Bluebeam Features Excellent for Steel Professionals
Bluebeam has many capabilities that are ideal for the steel industry to get bids done faster and more efficiently.

The Top 3 Most Effective Construction Project Management Software
Let’s explore the top 3 most effective project management software currently shaping the complex landscape of the construction industry.

Bluebeam Revu and Archicad: Driving Design Collaboration
OpenBIM is the key to collaboration and allows teams to use multiple software tools easily, such as this example of Revu and Archicad.

